
Mounting a Video Wall in 7 Steps
Installing a video wall system might be a bit overwhelming. But the system is an excellent way to attract attention, promote products, and inform. In previous years, only corporations and businesses with big advertising budgets can afford to have a multi-panel monitor display. With the reduction in prices, enterprises of all sizes can utilize video walls for their strategic marketing efforts.
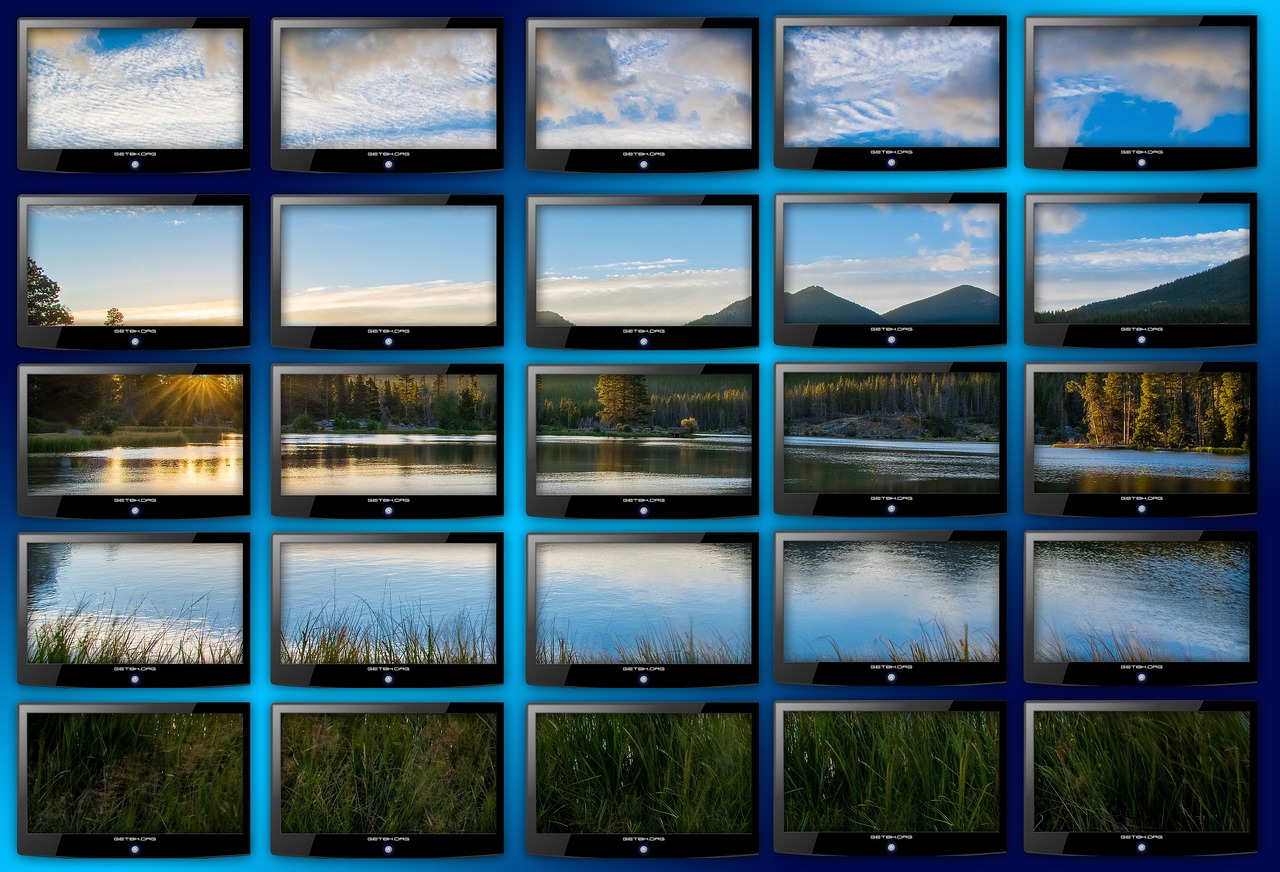
It is indeed impressive when you view the multiple monitors displaying an image in full color and high resolution. Whether a company is utilizing colorful graphics, stunning photos, or creatively produced videos, the result is a remarkable and dynamic display that nobody can miss.
Mounting a video wall
In reality, it is quite easy to mount a video wall system, as long as you follow the instructions from the monitors’ manufacturers. They recommend specific electrical and software you’ll need to make them work properly. Here are the steps to getting started.
- Check the monitors’ mounting pattern. At the back of the TV screen or monitor are four mounting holes. They have a unique placement according to the size of the monitor or TV, which is according to the guidelines of the Video Electronics Standards Association (VESA). The standard determines the dimensions (in millimeters) for wall mounting systems and TV wall mounts that most TV brands adapted.
- Collect area dimensions. Measure the dimensions of the entertainment center or the mounting area. Measure the width and height of the outer edges of each monitor. Knowing the aspects will help you determine the size of the space you need to fit all the monitors you are going to use for the video wall.
- Attach the mounting brackets to the monitors and adjust. Several types of mounting brackets are available today. The most installer-friendly video wall mount today is the pop-out video wall mount with a push-to-open and push-to-close action, making it easier to access the individual monitors. Put the monitors face down on your work area. See to it that all the VESA mounting holes are aligned and level with each other from top to bottom. Attach the mount brackets to the monitors then attach all the mounts. Align monitors and cover with a large sheet of paper to trace the corners of each mounting bracket.
- Choose the layout and grid style. The most straightforward video wall configuration is 2 x 2 (4 monitors or TVs side-by-side). The number of TV monitors you need depends on you. Determine the viewing location and viewing the height of the video wall.
- Mark out the studs on the walls. Mark the location of the wall studs. Tape the paper template to the wall so you can put a mark for the pilot holes. Make sure the lines for the pilot holes are level horizontally and vertically before you drill. Moreover, use anchor bolts for places where you cannot find a wall stud to prevent the monitors from falling.
- Mount the rails you will use to the wall.
- Mount, adjust, and calibrate. Mount the monitors to the rails one by one. Adjust and fine-tune the spacing of the monitors. Install the power bars and other necessary attachments. Turn the power on and calibrate the display.
You can always hire an expert to create your video wall. But it helps if you understand the process.
Related Posts


About The Author
admin
Amit Shaw, Administrator of iTechCode and Technoinsta. He is a 26 Year Ordinary Simple guy from West Bengal,India. He writes about Blogging, Technology, Gadgets, Programming etc.Connect with him on Facebook, Linkedin, Add him on Google Plus and Follow him on Twitter.